Reebok 290 RS User Manual
Browse online or download User Manual for Treadmills Reebok 290 RS. Reebok 290 RS User`s manual
- Page / 30
- Table of contents
- TROUBLESHOOTING
- BOOKMARKS
Summary of Contents
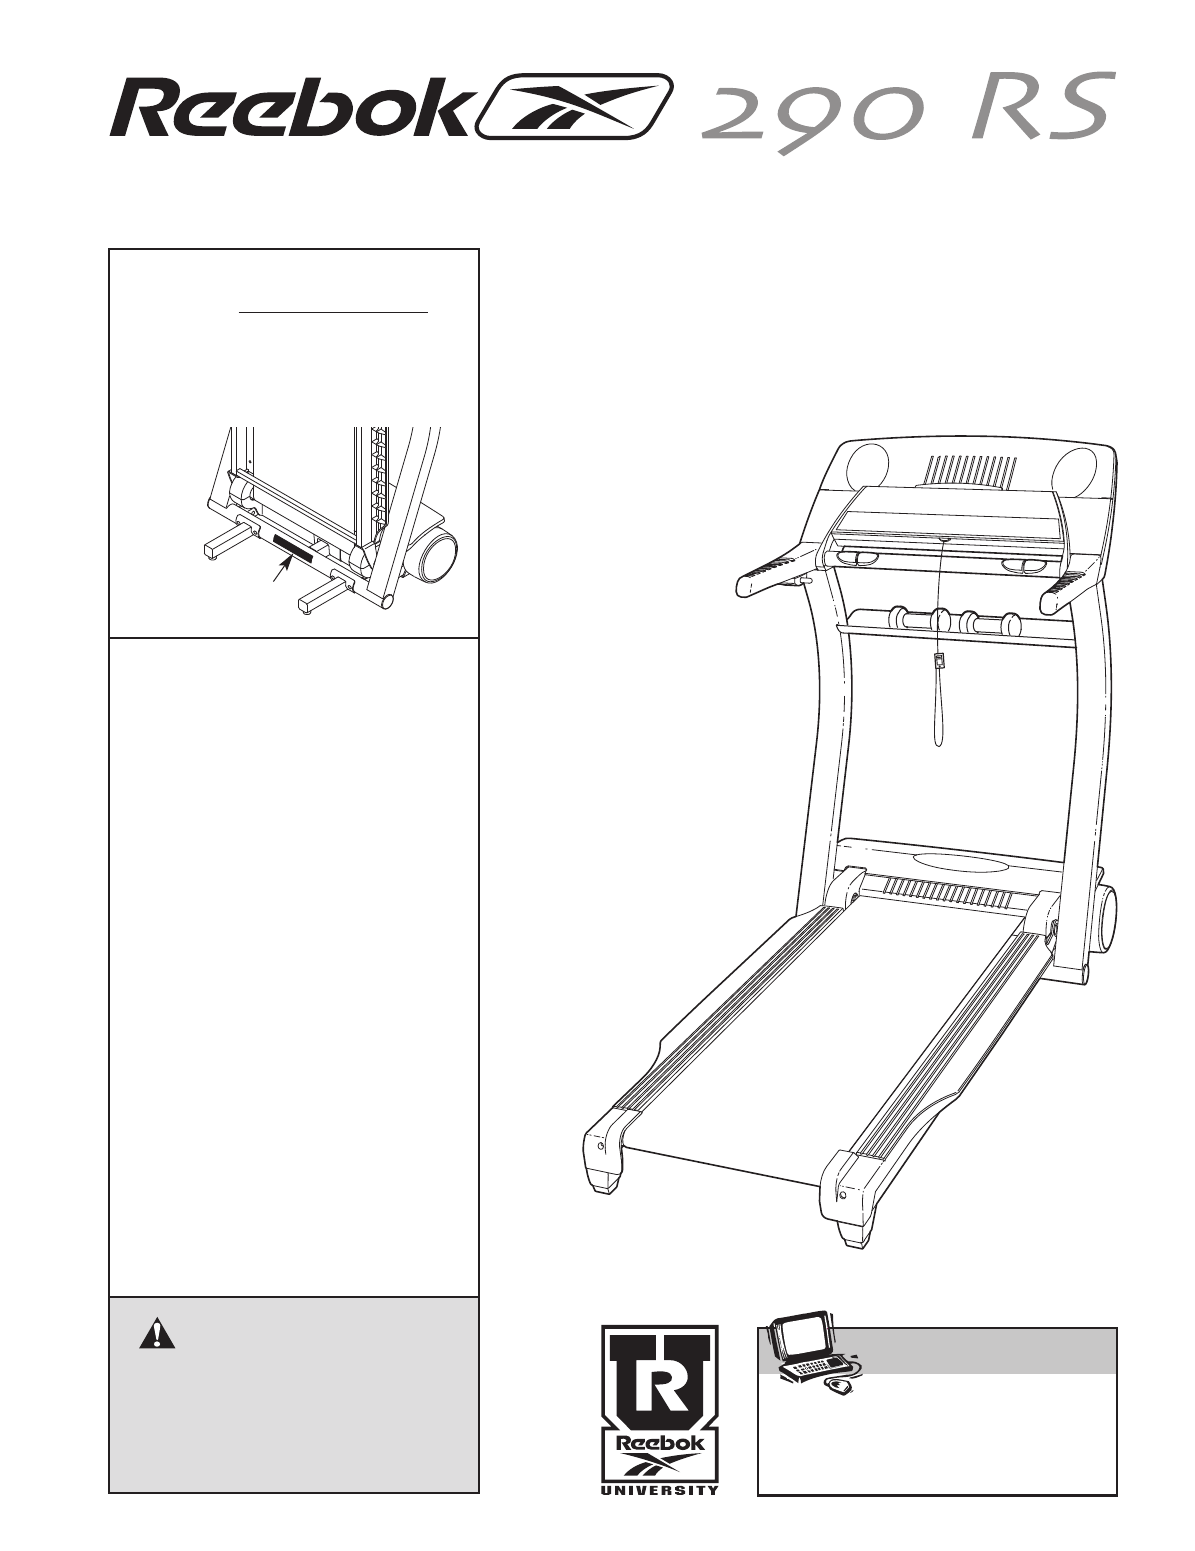
USER'S MANUAL®Visit our website atwww.reebokhomefitness.comnew products, prizes,fitness tips, and much more!Patent PendingCAUTIONRead all precaut
10OPERATION AND ADJUSTMENTTHE PERFORMANT LUBETMWALKING BELTYour treadmill features a walking belt coated withPERFORMANT LUBETM, a high-performance lub
11FEATURES OF THE CONSOLE The advanced console offers an impressive array of features to help you get the most from your exercise.When the manual mode
12HOW TO TURN ON THE POWERPlug in the power cord (see page 10). Locate the reset/offcircuit breaker nearthe power cord.Switch the breaker tothe reset
13Time/Incline/SegmentTime display—Whenthe manual mode or theiFIT.com mode is se-lected, this display willshow the elapsed timeand the incline level o
14HOW TO USE PERSONAL TRAINER PROGRAMSInsert the key fully into the console.See HOW TO TURN ON THE POWER on page12. Select one of the personal trainer
15To stop the program temporarily, press the Stopbutton. The Time/Incline/Segment Time displaywill begin to flash. To restart the program, pressthe St
16During heart rate pro-grams, the programdisplay will show agraphic that representsyour heart rate. Eachtime a heartbeat is de-tected, an additionalp
17HOW TO CONNECT THE TREADMILL TO YOURCD PLAYER, VCR, OR COMPUTER To use iFIT.com CDs, the treadmill must be connectedto your portable CD player, port
18HOW TO CONNECT YOUR HOME STEREONote: If your stereo has an unused LINE OUT jack,see instruction A below. If the LINE OUT jack isbeing used, see inst
19HOW TO CONNECT YOUR VCRNote: If your VCR has an unused AUDIO OUT jack,see instruction A below. If the AUDIO OUT jack isbeing used, see instruction B
2TABLE OF CONTENTSIMPORTANT PRECAUTIONS . . . . . . . . . . . . . . . . . . . . . . . . . . . . . . . . . . . . . . . . . . . . . . . . . . . . . . .
20If the speed or incline settings are too high or toolow, you can manually override the settings at anytime by pressing the Speed or Incline buttons
21HOW TO USE PROGRAMS DIRECTLY FROM OUR WEB SITEOur Web site at www.iFIT.com allows you to accessbasic programs, audio programs, and video p
22THE INFORMATION MODE/DEMO MODEThe console features an information mode that keepstrack of the total number of hours that the treadmill hasbeen opera
HOW TO FOLD AND MOVE THE TREADMILLHOW TO FOLD THE TREADMILL FOR STORAGEBefore folding the treadmill, adjust the incline to the lowest position. If thi
24TROUBLESHOOTINGMost treadmill problems can be solved by following the steps below. Find the symptom that applies, andfollow the steps listed. If fur
25PROBLEM: The walking belt slows when walked onSOLUTION:a. Use only a single-outlet surge suppressor that meets all of the specifications described o
26CONDITIONING GUIDELINESThe following guidelines will help you to plan your ex-ercise program. For more detailed exercise informa-tion, obtain a repu
27SUGGESTED STRETCHESThe correct form for several basic stretches is shown at the right. Move slowly as you stretch—never bounce.1. Toe Touch StretchS
PART LIST—Model No. RBTL71930 R0104A1 1 Decal2 4 Pulse Sensor Plate3 1 Hood Cover4 1 Motor Hood5 2 Tinnerman Clip6 1 Left Foot Rail7 1 Motor Belt8 3 F
Kirk NiebergallPRODUCT LIT. GROUP27731*271530289783828892859182979086127328251279131274872707687077736863626059641269616260591181277787777751275127868
31. It is the responsibility of the owner to ensurethat all users of this treadmill are adequatelyinformed of all warnings and precautions.2. Use the
Part No. 207019 R0104A Printed in USA © 2004 ICON Health & Fitness, Inc.ORDERING REPLACEMENT PARTSTo order replacement parts, call our Customer Se
22. When folding or moving the treadmill, makesure that the storage latch is fully closed.23. When using iFIT.com CDs and videos, anelectronic “chirpi
Thank you for selecting the new REEBOK®290 RStreadmill. The 290 RS treadmill combines advancedtechnology with innovative design to help you get themos
1. With the help of another person, carefully tip the treadmillonto its left side. Have a second person hold the treadmill. Attach a Base Leg (78) to
733. Have another person hold the Console Base (52) nearthe Uprights (117). Locate the wire harness extendingfrom the Console Base. Connect the wire h
87. To protect the floor or carpet from damage, place the in-cluded Mat (66) under the front of the treadmill. Note: If the treadmill rocks slightly,
9INSTALLING THE RECEIVER FOR THE OPTIONAL CHEST PULSE SENSORIf you purchase the optional chest pulse sensor (see page 22), follow the steps below to i
More documents for Treadmills Reebok 290 RS

Related products and manuals for Treadmills Reebok 290 RS
 (32 pages)
(28 pages)
(30 pages)
(36 pages)
(15 pages)
(32 pages)
(41 pages)
(28 pages)
(37 pages)
(32 pages)
(28 pages)
(30 pages)
(36 pages)
(15 pages)
(32 pages)
(41 pages)
(28 pages)
(37 pages)
© 2020, manymanuals.com. All rights reserved. | 1.243 s |
 Manymanuals.com
 Manymanuals.de
 Manymanuals.fr
 Manymanuals.it
 Manymanuals.pl
 Manymanuals.cz
 Manymanuals.es
 Manymanuals-pt.com
Comments to this Manuals